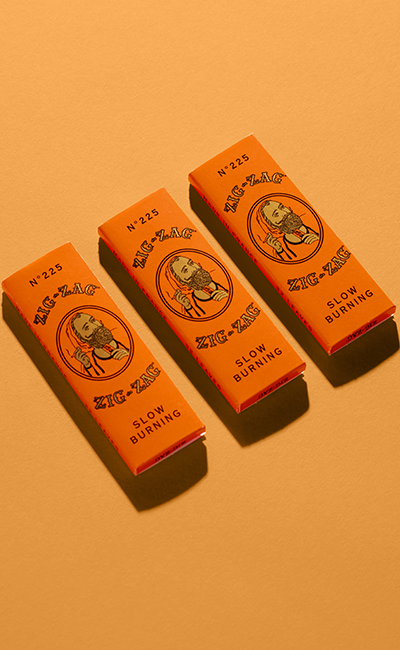
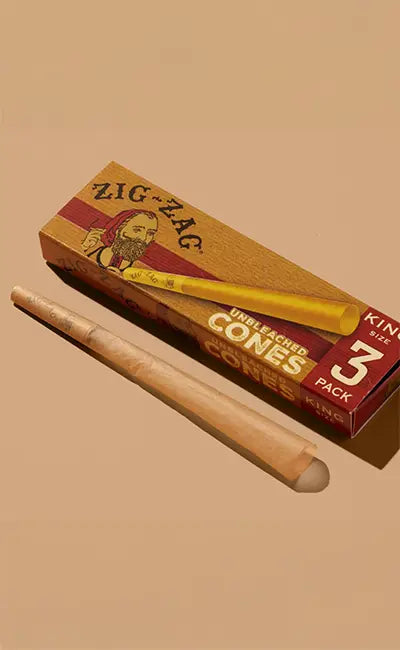
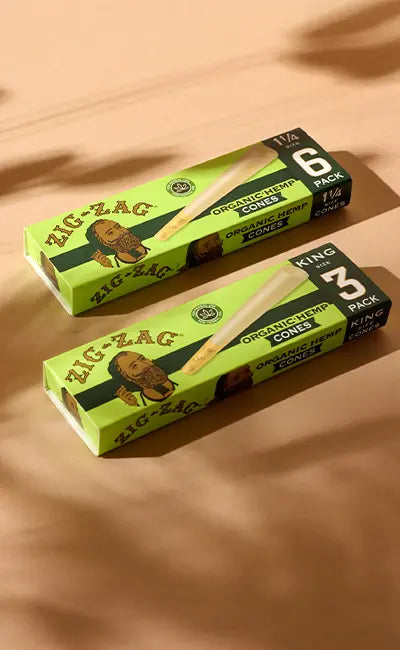
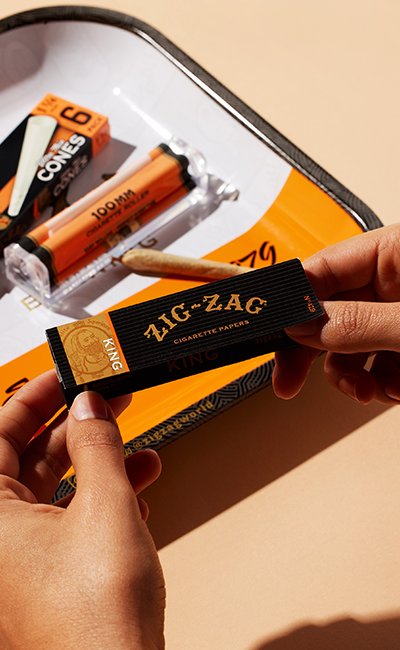
When it comes to pre-rolled cones, there are two main types that smokers often choose between: king-sized cones and standard cones. These cones serve the same purpose—to make rolling easier—but they differ greatly in their design and function. Standard cones are typically smaller, holding less material, which makes them great for quicker sessions. In contrast, king-sized cones are much larger, designed for those who want an extended experience. Both options are widely available, but understanding the unique features of each helps users decide which one best suits their needs. This makes choosing between different rolling cone sizes an important first step for an enjoyable smoking session.
Benefits of King-Sized Cones for an Enhanced Experience
Offer a Smoother Burn
One of the main reasons many smokers prefer king-sized cones is the noticeably smoother burn they provide. These larger cones are designed to burn slowly and evenly, reducing harshness with each puff. Because the burn progresses at a steadier pace, there’s less chance of uneven burning or canoeing, which can disrupt the experience. This steady burn also helps maintain the quality of the smoke throughout the session. Achieving the perfect burn using large smoking cones allows users to enjoy each hit without feeling rushed.
Longer and More Satisfying Session
This feature makes these cones ideal for extended sessions or for sharing with a group of friends. Instead of needing to roll multiple cones, one king-sized option can easily last the entire time. The larger size also means the cone can hold a consistent shape as it burns down, offering a smooth draw every time. For those seeking a more relaxed smoke, the benefits of
premium king-sized cones for rolling are clearly evident, as they provide a satisfying, uninterrupted experience without the hassle of constant re-rolling.
Enhancing Flavor with King-Sized Cones
Flavor is a big part of the smoking experience, and larger cones can actually help amplify the taste of your chosen material. Because these burn at a slower rate, they allow the flavors to develop more fully without becoming too hot too quickly. This slower burn can lead to a richer, more enjoyable taste with every inhale. The controlled burn preserves delicate flavor notes, giving users a fuller and more authentic smoking experience that highlights the best qualities of the material. High-quality king-sized cones are typically made from fine, unbleached paper that promotes an even burn without adding unwanted flavors. Many feature thoughtful designs like pre-shaped tips and smooth rolling paper that make the rolling process easier, even for beginners. These
premium cones also tend to retain their shape better during the burn, helping to avoid issues such as sagging or crumbling.
Advantages of Standard Cones for Convenience and Efficiency
When Standard Cones Are the Better Choice
For those who enjoy shorter smoking sessions or prefer not to share, the smaller size provides just the right amount without waste. Standard cones are also easier to manage for beginners, as their compact form is less likely to cause rolling issues or packing mistakes. These cones are often favored by individuals who value portability and ease of use, making them a wise choice for on-the-go sessions. Choosing the
best standard cones allows smokers to enjoy a balanced burn with minimal effort, perfect for solo enjoyment or quick breaks.
Achieving a Quick, Hassle-Free Roll
Efficiency is a key reason why many smokers lean toward standard cones, especially when time is limited. Pre-rolled standard cones require minimal preparation, making it simple to fill, pack, and enjoy without the need for advanced rolling skills. This ease of use is particularly helpful for those new to rolling or anyone seeking a fast solution without compromising quality.
Mastering Rolling Techniques for King-Sized and Standard Cones
Rolling Tips for King-sized Cones
Perfecting your roll not only ensures the cone burns evenly but also enhances the overall experience. Here are important rolling strategies for smoking cones that help achieve optimal results:
-
Use the Right Amount of Material: Getting the quantity of material just right is foundational to a reliable burn. Gently fill the widest end of the cone with small pinches, layering until the cone feels three-quarters full. You want enough substance to maintain structure without creating too much density. Overstuffing can choke airflow and lead to uneven hot spots, while too little material can leave air gaps that cause the cone to collapse or burn too quickly. A simple way to calculate the correct amount is to hold the filled cone upright and give it a gentle shake: you should hear a faint rattling of loose bits but not a hollow echo. As you approach the top, gradually taper the amount you add so that the cone maintains a consistent taper from base to tip.
-
Distribute Material Evenly: Even material distribution prevents weak spots that can burn faster than the surrounding areas. After filling, use a small packing stick or your fingertip to gently nudge the material from the center toward the edges, working in a circular motion all along the length of the cone. Rotate the cone as you tap, ensuring that no single area is left with a loose pocket or overly firm cluster. If you spot larger chunks, break them up with the packing tool so that everything rests at roughly the same density.
-
Utilize a Packing Tool for Stability: A dedicated packing implement offers more control than using your fingers alone. Opt for a slender, rounded packing stick designed for cone filling; it slides smoothly through the material without tearing the paper. After each small addition of material, insert the tool gently and twist to compress the contents just enough to hold the shape. Work in short, light taps rather than long, forceful presses. This technique builds gentle internal pressure that supports the cone walls and helps maintain a cylindrical burn progression.
-
Avoid Compressing Too Firmly: While tamping is necessary, overcompression blocks airflow and can extinguish the cone mid-session. The goal is to remove major air pockets without eliminating the tiny channels that allow smoke to flow. After each tamp, test the draw resistance: a light pull should offer gentle, steady resistance. If it's too tight, you’ll struggle to draw; if it's too loose, the cone might burn too rapidly. If the draw feels overly stiff, pull back slightly on your tamping pressure or add a small pinch of loose material near the tip to rebuild airflow pathways.
-
Twist the Top Securely: Sealing the cone’s opening properly ensures the contents stay put during handling and lighting. After tamping, gather the excess paper at the tip and twist it in a single, smooth motion. Aim for a tight seal without crushing the material inside—think of gently drawing a drawstring closed rather than wringing out a cloth. A well-formed twist acts as a built-in buffer zone that prevents the filler from spilling out when you jiggle or shake the cone. It also controls the initial burn area, so your flame meets the filler evenly instead of catching stray bits of paper.
-
Light Evenly Around the Edge: The way you ignite the cone sets the tone for the entire session. Instead of focusing the flame on one spot, continuously rotate the cone under a lighter or hemp wick so that the ember forms a uniform ring around the perimeter. Hold the flame just above the edge, keeping a consistent distance to avoid scorching the paper. As you turn, gently inhale to draw the flame into the material, but stop pulling once the ember glows evenly. If one section lags behind, briefly pause and target the dull area with the flame until it catches up. A properly established ember ring prevents one side from running ahead, a common issue with optimal burn with king-sized cones due to their larger circumference. Once the entire edge glows, lightly tap off any loose ash and continue inhaling to deepen the ember.
With practice, these simple techniques become intuitive, letting you focus on enjoying the session rather than troubleshooting burn issues.
Effective Rolling Strategies for Standard Cones
Because these cones hold less material, even slight packing errors can result in uneven burning or airflow issues. Focusing on steady, light packing is key to achieving a consistent smoke from start to finish. Avoiding overpacking allows the material to breathe properly, giving the smoke room to circulate smoothly. Using proper rolling techniques for king-sized cones may not always translate directly to smaller cones, so adjusting your method for cone size ensures the most enjoyable outcome.
Optimizing the Burn: How to Get the Best Experience from Your Cones
Achieving an Even Burn
Ensuring that large cones burn evenly takes attention to how they are packed and handled. An uneven burn, often referred to as canoeing, can disrupt the flow of your session and waste valuable material. To achieve a smooth burn with large smoking cones, it’s essential to focus on consistency throughout the cone’s length.
The Role of High-Quality Materials
Using flavor-enhancing king-sized cones or well-made standard cones helps prevent issues such as uneven burning, paper taste, or ash buildup. Attention to material quality also helps maintain cone integrity throughout the session. Investing in premium cones guarantees a more enjoyable experience, ensuring that each smoke session meets the highest standards for both flavor and performance.
Maintaining Freshness
Proper storage is essential to preserve the quality and usability of both king-sized and standard cones. Below are key tips:
-
Store Cones in Airtight Containers: An airtight container prevents cones from losing moisture to the surrounding air and guards them against stray odors. After purchasing cones, transfer them from their paper packaging into a sealable jar or food-grade plastic box with a tight-fitting lid. If you prefer a more discreet option, vacuum-sealed pouches designed for herbs work equally well. The goal is to create a barrier that stops outside air from entering and drying out the paper fibers.
-
Keep Away from Direct Sunlight: Sunlight contains ultraviolet (UV) rays that can degrade the quality of paper over time. If cones sit in a sunny windowsill or near a bright lamp, the paper fibers may dry out unevenly, leading to brittle edges and a greater likelihood of tearing during use. Heat from sunlight can also accelerate moisture evaporation, leaving cones stiff and more prone to creasing. To prevent this, store containers in a shaded cabinet or drawer, away from windows and direct light sources. If you use transparent or glass containers, wrap them in a linen cloth or place them inside an opaque box. This extra layer blocks light while still allowing you to see container outlines, providing quick access when needed.
-
Maintain a Stable Temperature: Aim for a consistent storage temperature between 60°F and 70°F (15°C–21°C). Avoid rooms prone to temperature fluctuations where heat can accumulate during the day and drop rapidly at night. In climates with significant seasonal variations, consider keeping cones in an air-conditioned area or in a temperature-controlled wine fridge set to room-temperature settings. If you store cones near HVAC vents, ensure they are at least several feet away to avoid blast-chilling effects or sudden warm air blasts. Sudden changes in temperature stress the paper, causing micro-cracks that compromise burn quality. Using a simple indoor thermometer with a humidity display helps you monitor conditions and adjust placement as needed.
-
Use Humidity Control Packs: Including a humidity control packet in your cone storage container balances moisture levels and prevents swings that can harm paper quality. Products designed for cigar humidor use are ideal, as they maintain a precise relative humidity (RH) level, typically around 62% for cone paper. Place one pack in the container with your cones, ensuring it does not touch the paper directly; instead, let it float or rest on a small dish to distribute moisture evenly. Replace the pack according to manufacturer guidelines, usually every two to three months, or when it becomes rigid. In regions with high ambient humidity, a 58% RH pack may be more suitable to prevent excess moisture. Conversely, in dry climates, a 65% RH pack helps stave off brittleness. Avoid homemade remedies like damp sponges or cotton balls above cones—these can introduce uneven moisture and encourage mold.
-
Avoid Crushing or Overcrowding: Too many cones packed tightly together can deform under pressure, producing bent tips or crushed walls that tear during rolling. When placing cones into your storage container, leave enough room for a gentle jostle without direct contact between each one. If you have large quantities, consider dividing them into smaller batches, storing each in its own compartment or jar. Use foam inserts or cardboard dividers to keep cones upright and separated.
-
Separate Flavored and Unflavored Cones: If these are stored alongside unflavored varieties, their scents can transfer, altering the taste experience of your pure papers. To prevent cross-contamination, dedicate distinct containers or sealed pouches for flavored and unflavored cones. Label each container clearly to prevent mixing them by accident. If you rotate through multiple flavors, store them in separate sections of your cabinet, with a buffer of plain cones kept in between to further reduce aroma bleed.
-
Check Periodically for Damage; Even with ideal storage, cones can occasionally develop issues over time. Schedule a quick inspection every month: open each container and gently run your fingers along a few sample cones, checking for brittleness, discoloration, or paper tears. Look for tiny white spots or fuzzy patches that could indicate mold. If you notice any cones that feel stiff, crack when bent, or have warped bases, remove them immediately to prevent them from affecting the rest. Snap a piece off a suspect cone to see if it breaks cleanly or crumbles; crumbling indicates that it should be discarded.
Consistent care and proper storage extend the life of your cones and ensure they remain ready for rolling at a moment’s notice.
Regardless of whether you choose king-sized or standard cones, a few important details can help elevate your smoking experience. Using quality rolling techniques with king-sized cones ensures that the material burns evenly and consistently, preventing interruptions that can reduce enjoyment. Likewise, taking the time to handle standard cones with care improves their overall performance and burn rate.


