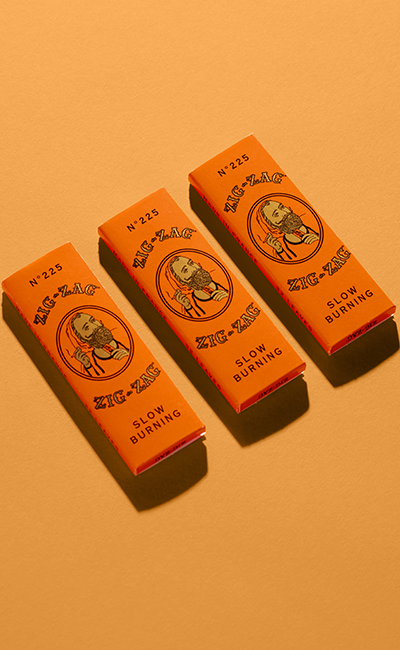
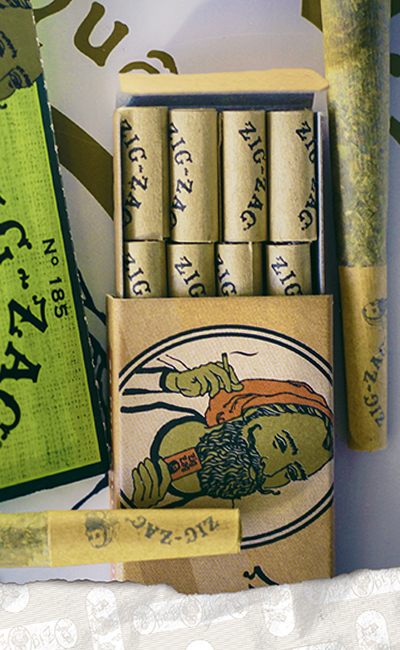
The art of rolling has long been an important part of smoking culture. In earlier days, smokers relied on basic rolling papers and hand-rolled joints, which required skill and patience. Not everyone found it easy to achieve a consistent roll, and uneven burns were a common problem. Over time, smokers began seeking more reliable methods to improve their sessions. This demand sparked the development of pre-rolled rolling cones, designed to offer convenience and consistency without sacrificing quality. These cones allowed even beginners to enjoy well-packed joints without the frustration of learning advanced rolling techniques.
Understanding Rolling Cone Options: Sizes, Materials, and Use Cases
King-Size Rolling Cones vs. Slim Cones
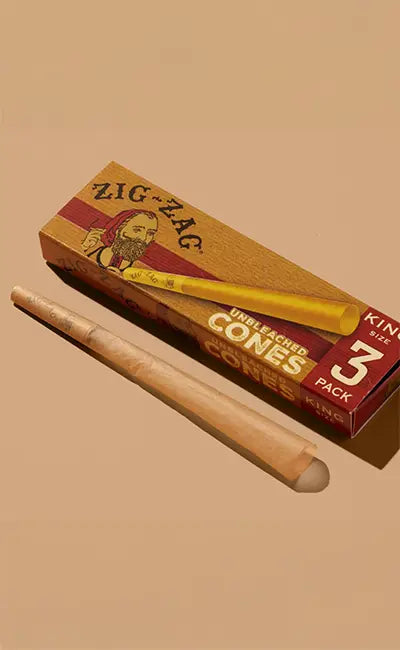
King-size rolling cones are perfect for group settings or longer personal sessions, as they hold more material and burn for an extended time. On the other hand, slim cones are designed for quick, solo use when you prefer a smaller amount. Understanding when to use each type helps match your needs and preferences. Larger cones are ideal for sharing during social events, while slim options are convenient for discreet moments or when you want a lighter smoke. Selecting the right fit depends on how much product you want to pack and how long you plan to enjoy your session.
Organic Hemp Rolling Cones
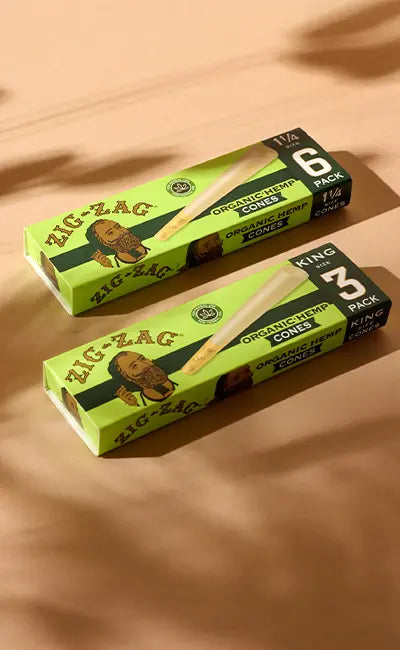
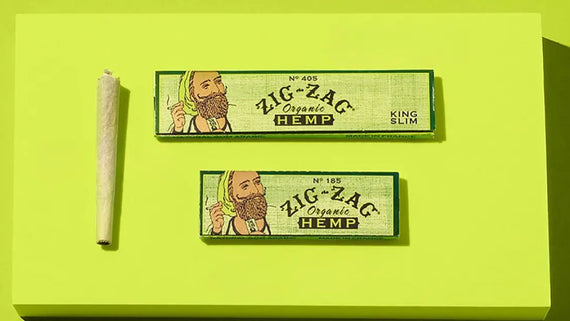
Many smokers today are interested in natural choices that align with a health-conscious lifestyle. Organic hemp rolling cones offer a clean-burning option made from pesticide-free hemp fibers. These cones are popular for their smooth taste and eco-friendly production. Unlike bleached papers, hemp cones maintain the natural flavor of your material without introducing unwanted chemicals. They appeal to smokers who care about sustainability and prefer plant-based products. The fibers used in hemp cones break down more easily, making them a better choice for the environment.
Flavored Rolling Cones
If you enjoy adding a little extra aroma to your smoking routine, flavored rolling cones offer a fun way to enhance each puff. These cones often use terpene-infused materials to complement the natural flavors of your herb. They come in a variety of flavors, such as berry, vanilla, or tropical fruit, giving each session a unique twist. Flavored cones can make casual smoking moments feel more special without overpowering the natural scent of your material. They are especially popular for social occasions where guests may appreciate something a bit different. Adding flavor to your cones can bring a creative, personalized touch to your experience.
Natural Paper and Ultra-Thin Rice Paper Cones
These are made without harsh additives, focusing on purity and a neutral burn. Rice paper options are skinny, which allows the flavor of your material to come through clearly without interference.
Natural paper rolling cones are carefully crafted to provide a slow, even burn, helping to maintain the quality of your product. Both types are appreciated for their simplicity and effectiveness, allowing you to control your smoking experience.
How to Roll Cones Like a Pro: Techniques and Tools
Selecting the Best Joint Papers
When crafting your own cones by hand, selecting the right paper makes a significant difference in the outcome. The best joint papers are thin enough to avoid harshness but sturdy enough to hold their shape. Some are watermarked for better airflow control, reducing the chances of canoeing or uneven burning. The right paper also affects how easily you can shape and seal your cone, making the experience smoother and more enjoyable for both beginners and seasoned rollers.
Step-by-Step Guide
Rolling cones by hand can feel intimidating if you're new to the process, but with the help of rolling mats and cone molds, the task becomes much simpler. Here's how to pack a cone:
-
Choose the Right Paper and Mold Size: Rolling papers come in various widths and lengths, so match the paper’s dimensions to your mold’s circumference and length. Too-large paper will bunch up, creating unsightly folds, whereas paper that’s too small won’t cover the mold fully, leaving gaps or forcing you to stretch it, which risks tearing. Layer a blank mold on top of an open sheet of rolling paper to visualize the fit. If the paper extends beyond the mold by more than a quarter inch all around, consider trimming or switching to a narrower paper. Conversely, if the paper barely wraps around, choose a larger size. Rolling mats help keep your workspace clean and offer a nonstick surface that prevents paper from slipping during alignment.
-
Insert the Filter Tip Into the Mold: The filter tip forms the foundation of your cone, so install it securely before wrapping any paper. Choose a tip size that fits snugly within the mold’s narrow end—too loose and the tip will shift; too tight and you’ll struggle to insert it cleanly. Fold your filter material (card or pre-made filter) into the desired shape—whether a simple “W” fold or a multi-layered design—then push it gently into the mold. Ensure the closed end of the tip sits flush with the mold’s tip to prevent material from sneaking underneath. The open end should protrude slightly for an easy grip when removing the rolled cone later. A properly seated tip maintains structural integrity, preventing the base from collapsing when you pack the cone. It also provides a firm mouthpiece that helps regulate airflow and keeps filler from slipping through during use.
-
Wrap the Paper Around the Mold: Place the mold on your rolling mat, hold the paper at its ends, and begin to wrap it around the tool from one side. Apply gentle, even pressure with your fingertips to guide the paper along the mold’s contour, ensuring it lies flat without wrinkles. The adhesive edge should align with the paper’s opposite margin, forming a seam that runs lengthwise down the cone. As you wrap, keep the paper taut but not overstretched—this balance prevents sagging while maintaining paper strength. If the paper shifts or bulges, unroll slightly and realign before proceeding. The rolling mat’s textured surface helps by offering grip underneath the mold, allowing you to roll steadily without the mold sliding away.
-
Seal the Paper Along the Edge: Lightly dampen the glue strip with a barely wet fingertip or a small spray of water. Run your moistened finger along the adhesive margin, then gently press it onto the underlying paper edge. Apply light, even pressure from one end of the cone to the other, ensuring the seal holds without wrinkles or bubbles. Use the rolling mat’s edge or a clean, flat tool to burnish the seam, if available; this adds strength and keeps the paper aligned. Allow the glued seam to set for a few seconds before moving the mold. A well-executed seal prevents the cone from unraveling during removal and filling.
-
Remove the Cone From the Mold: After the glue has had a moment to set, carefully extract the cone. Grasp the exposed filter tip and gently twist the mold while pulling the cone upward. If the cone resists, wiggle the mold slightly side to side to ease it out without crushing the paper. Do not yank forcefully, as this can deform the cone’s base or squeeze the paper walls. Once free, set the cone upright on your mat and let it rest for a minute to ensure the adhesive fully dries.
-
Check the Shape and Adjust If Needed: With the cone off the mold, take a final look before filling. Roll it between your palms to detect soft spots or uneven thickness. If one side feels too thin, gently pinch the paper in that area to reinforce that section. For minor dents or bulges, run your finger along the cone’s exterior to smooth out irregularities. Check the mouthpiece end for roundness, as an oval opening can impede airflow or make packing uneven. If necessary, insert a small wooden dowel or the remaining core of the mold to reshape the interior walls—push gently and rotate to expand compressed areas.
Following these structured steps with your rolling mat and mold as guides takes the guesswork out of cone rolling.
Heat-Curing Techniques
This method involves lightly applying heat along the sealed edge and body of the cone to help the adhesive set fully and the paper maintain its shape. Some smokers use a lighter flame at a safe distance, while others prefer specialized heat tools for more control. Practicing this method can significantly reduce issues like loose seams or premature unrolling.
Innovations in Rolling Papers and Cone Accessories
Cone Loaders, Vibrating Packers, and Gravity-Assist Fillers
Efficiency is a key factor when preparing cones, especially for those who roll frequently. Tools like cone loaders, vibrating packers, and gravity-assist fillers simplify the packing process, making it faster and more consistent. These devices are designed to reduce manual effort and provide uniform density throughout the cone, which helps avoid air pockets or uneven burning. Vibrating packers gently shake the material into place, while gravity fillers let your herb naturally settle into the cone for a balanced result.
Portable Smoking Solutions
These smoking accessories are specifically designed to make smoking on the move as convenient as possible. Here are three essential tools that address common challenges faced by mobile smokers:
-
Metal Cone Holders: Crafted from lightweight yet sturdy alloys like aluminum or stainless steel, they resist dents and dents don’t compromise their protective shell. Many models feature screw-top lids or twist-lock mechanisms that seal tightly, keeping moisture and debris out. Inside, a soft lining or silicone gasket often cushions your cones, preventing the delicate paper tips from bending or tearing. Some holders even include modular inserts so you can carry different sizes, from 1.0-gram cones to larger pre-rolls for smoking tubes. Their cylindrical shape fits easily into side pockets of backpacks or into a purse compartment without adding bulk. Cleaning is simple: just rinse under warm water or use a small brush to remove any residue. The metal surface also resists staining and odors, so it stays looking fresh over time.
-
Silicone Stands: These offer a stable resting spot once you’ve lit your cone. Made from food-grade silicone, these stands tolerate high temperatures without warping or melting. Their pliable material grips flat or slightly uneven surfaces firmly, preventing accidental tipping that can spill ash or start a fire. Many designs fold flat when not in use, sliding easily into a pocket or small pouch. Others feature a snap-together system, allowing you to adjust the angle of the cone for optimal airflow and ash buildup control. Because silicone is non-porous, these stands won’t absorb moisture or odors. Cleaning involves a quick rinse or wipe, and they dry almost instantly.
-
Odor-Control Carriers for Scent Management: Typically constructed from durable polymers or metal shells, they feature smell-proof seals and layers of activated carbon lining. This carbon layer traps aromatic molecules, neutralizing odors before they escape. Many carriers utilize a double-lid or gasket-seal design, creating an airtight chamber that prevents any scent from escaping. Inside, padded compartments keep cones and loose herbs separated, avoiding cross-contamination of flavors. Some models include removable trays for easy loading and cleaning. To refresh the odor-blocking capability, you can replace or regenerate the carbon layer by exposing it to sunlight or gently heating it per the manufacturer’s instructions. Compact and often pocket-sized, these carriers fit easily in backpacks or glove compartments without drawing attention.
These help maintain your cones’ quality while offering added convenience and discretion during travel or outdoor activities.
Storage and Maintenance Tips for Rolling Cones
Best Practices
Proper storage plays a key role in maintaining the quality and performance of your smoking products. When it comes to flavored rolling cones and organic hemp varieties, extra care is taken to ensure that their taste, aroma, and structural integrity remain intact. Exposure to air, moisture, and direct sunlight can lead to dryness, brittleness, or flavor loss over time. Keeping your cones in airtight containers helps protect them from these issues while also preserving the freshness of any added terpenes or natural oils. Select storage options that are specifically designed to protect cones from crushing and contamination.
Humidity-Controlled Tubes and Two-Way Humidity Packs
One of the easiest ways to safeguard the freshness of your cones is by using humidity-controlled storage solutions. These specially designed tubes and containers often come with built-in features that regulate internal moisture levels to prevent cones from becoming too dry or too damp. Adding two-way humidity packs inside your storage device creates a balanced environment where your cones can stay soft yet firm, avoiding both cracking and sogginess.
Protecting Terpene Integrity
Maintaining the full aromatic profile of your cones depends on how well you protect the delicate terpenes infused into the papers. These compounds are susceptible to air and heat, so improper storage can cause them to degrade quickly. Using sealed containers that block out oxygen and light helps maintain the terpene content, preventing premature evaporation and flavor breakdown. For
pre-rolled smoking papers with added flavors, this method ensures that the infused aromas stay vibrant until the moment of use.
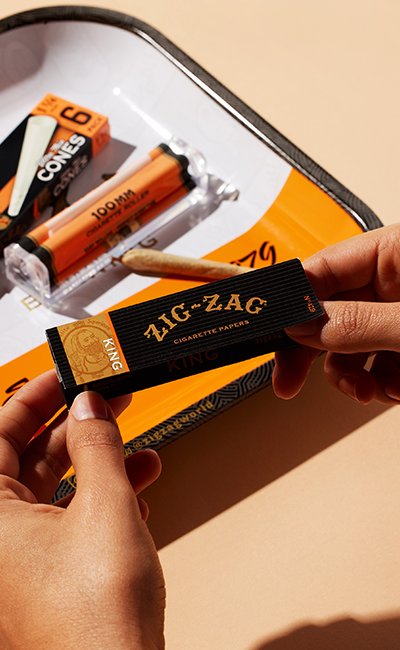
Having the proper gear on hand ensures that every smoking session goes smoothly, whether you're relaxing at home or out exploring. A well-equipped kit typically includes essentials like rolling papers, filters, packing tools, and secure storage solutions. Choosing the best rolling cones helps simplify your process. By assembling a thoughtful collection of
joint rolling supplies, smokers can enjoy effortless preparation and a more enjoyable smoke whenever the moment calls for it.


